I had a stash of bottle caps that I had been saving for a while JUST IN CASE a project may arise. While I know that I could always buy bottle caps at a craft store, I just hate buying something that I have in my possession already for FREE.
Back in July, I found an adorable cork board for kid's artwork and since my refrigerator was already taken over by my little artist's work, I needed a secondary "gallery." I found a nice spot for it in the hall between our breakfast nook and the living room and covered it with art. Except there was something just not right... AHA! Aside from not having enough space (I'll talk about that later), it was covered in BORING pushpins. I thought about it a little and remembered my trusty stash of bottle caps! Yes, I could have bought "cuter" pushpins, but why do that when I could make my own unique, inexpensive, easy pushpins! Since I am also looking for summer crafts for Super Kid, I would be hitting two birds with one stone! I decided to let him make bottle cap magnets to put by his homework desk. We did these simultaneously, so the pictures are combined.
How I did it:
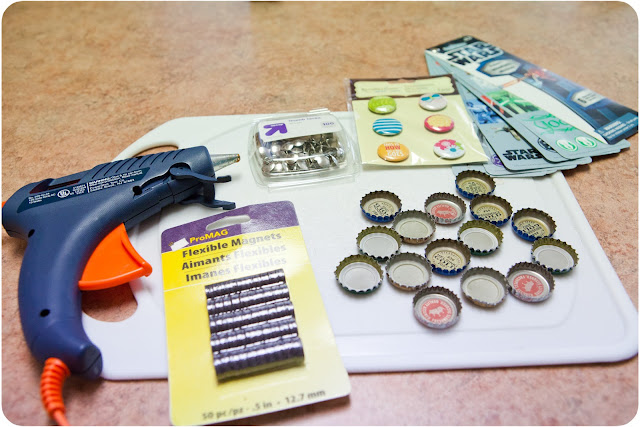
What you need:
- Bottle caps (as many as you want to make)
- Hot glue gun
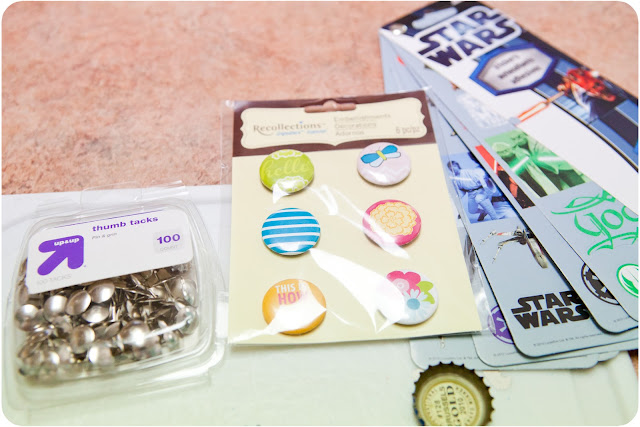
- Flat head pushpins
- Small round magnets
- Stickers
- Scrapbooking embellishments
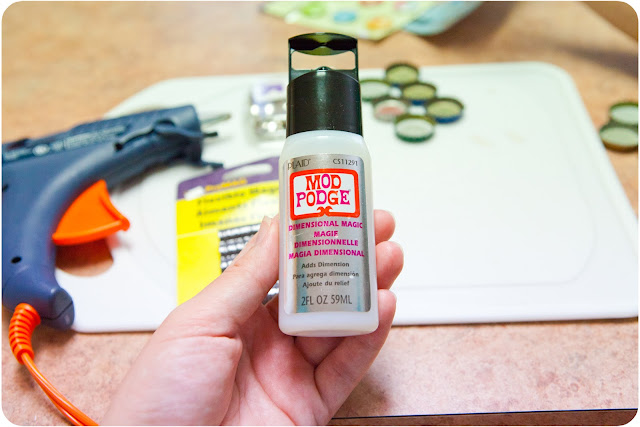
- Mod Podge Dimensional Magic (we used the one with silver glitter)
- Cutting board (optional - I use this cutting board for ALL of my crafts!)
What I did:
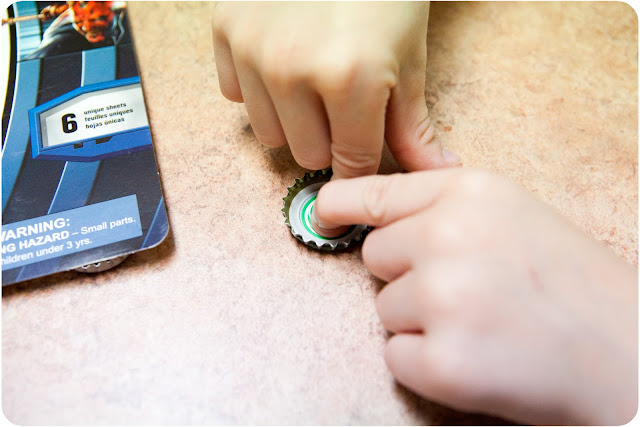
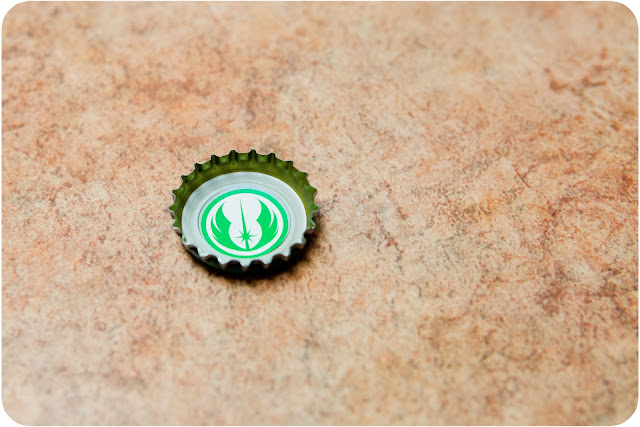
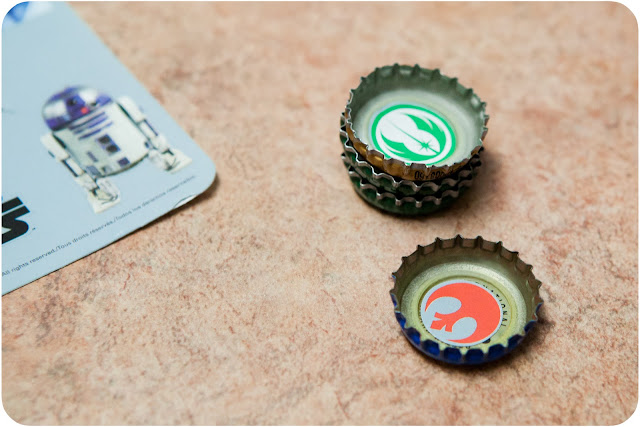
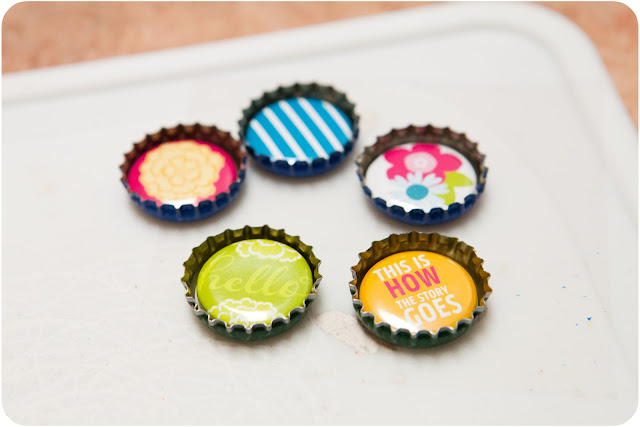
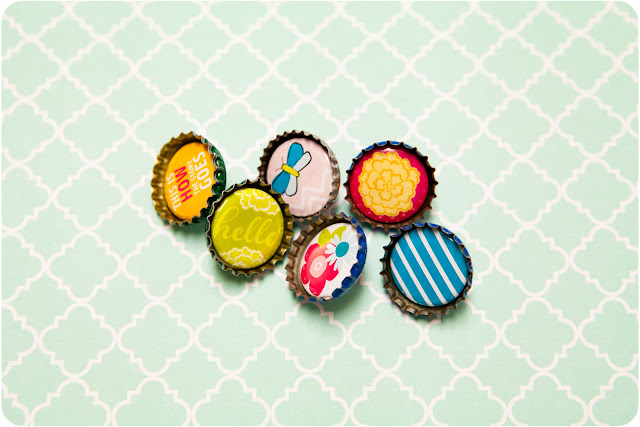
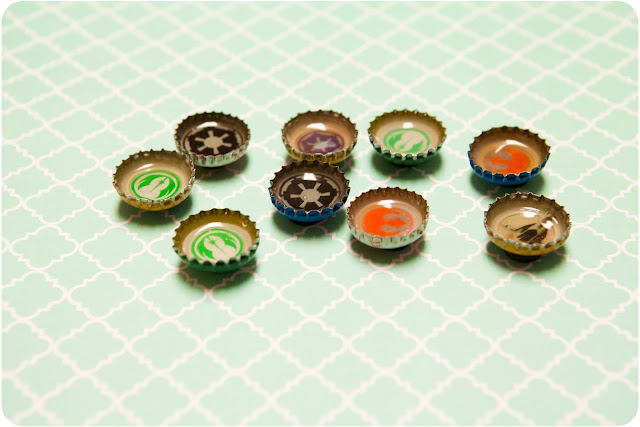
Step 1: I told Super Kid to pick out a few stickers from his sticker pad that would fit inside of the bottle caps. I then let him take this over while I placed my scrapbooking embellishments (which fit PERFECTLY inside of the caps) inside of my caps. You could do either way for your caps! Scrapbooking stickers work great! I found these adorable embellishments on clearance, so I went that route. I did not have to use hot glue for mine, since they had a sticky back on them. If it does not have a sticky back, then use a small dab of hot glue to hold your embellishment in place.
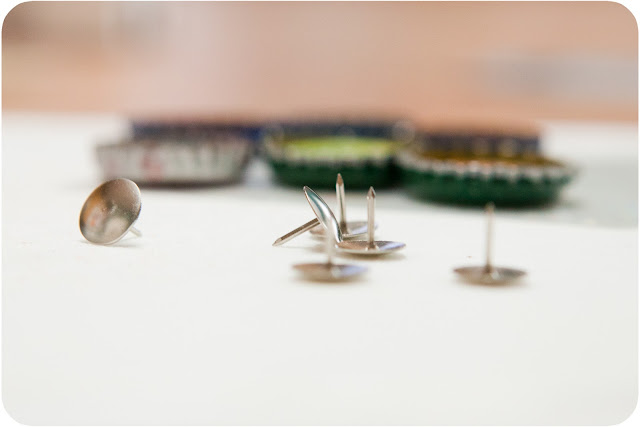
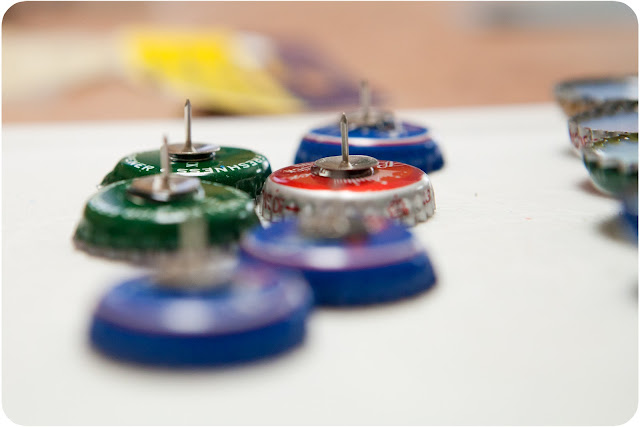
Step 2: Since my embellishments did NOT need Mod Podge, I went ahead and hot glued my pushpins to the bottom.
Step 3: For the caps with stickers (or anything that needs Mod Podge), I hot glued magnets to the bottom and then filled the bottle caps with the Mod Podge Dimensional Magic.
Step 4: Let the caps with Mod Podge dry for 24 hours. Once they are dry, they are done! The pushpin caps without Mod Podge are all done once the hot glue is dry!
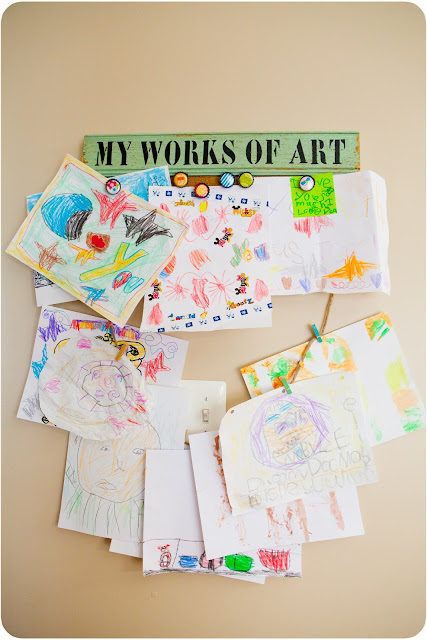
On my "Works of Art" board:
I mentioned before about not having enough space on this board! I added a piece of jute string by attaching it with hot glue to the back of the board and then used these adorable mini clothes pins I found on clearance (part of the same set as the embellishments I used for the bottle caps) to hook the art to the jute! Always try to alter an object to better fit your needs rather than buying something new!
And just because they're adorable, here's those cute mini clothes pins :)









No comments:
Post a Comment