Tuesday, October 22, 2013

Halloween "Out of Treats" Sign


Has it really been a month since I've posted anything here?  Once school gets into full swing and fall starts to set in, I think the busier I (and my family) get!  I apologize for such a gap in between posts.  I'll try not to let it happen again! :)

I had another opportunity to be a guest poster at the At Play Blog! I had a little bit of Pinterest inspiration and made my own twist on a Halloween "Out of Treats" sign! Check it out here!


Tuesday, September 3, 2013

Yarn Wreath with Fabric Flowers and Pennant Flags


I was invited to be a guest poster at the At Play Blog again for the month of September!

Head over there and check out my tutorial for making this yarn wreath with fabric flowers and pennant flags!

Don't forget to check out the At Play Blog while you're there!  


Monday, August 19, 2013

Bottle Cap Pushpins & Magnets

Bottle Caps Pushpins & Magnets - www.thelifeofawannabesupermom.blogspot.com

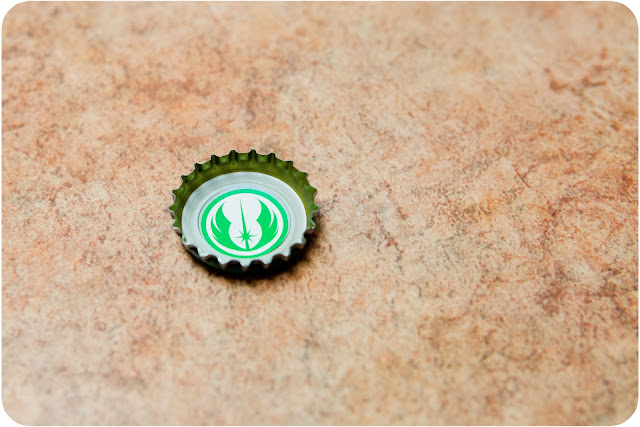
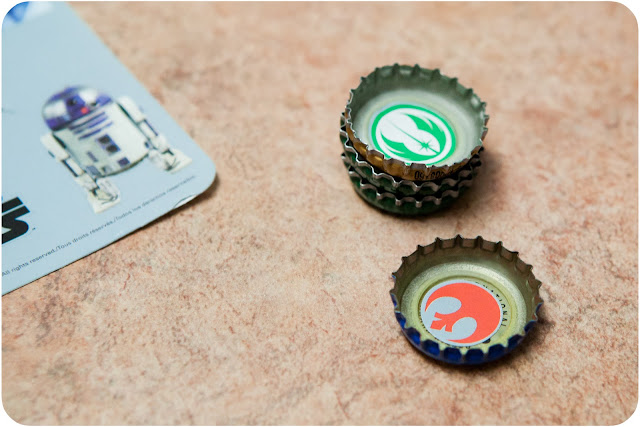
I had a stash of bottle caps that I had been saving for a while JUST IN CASE a project may arise.  While I know that I could always buy bottle caps at a craft store, I just hate buying something that I have in my possession already for FREE.  

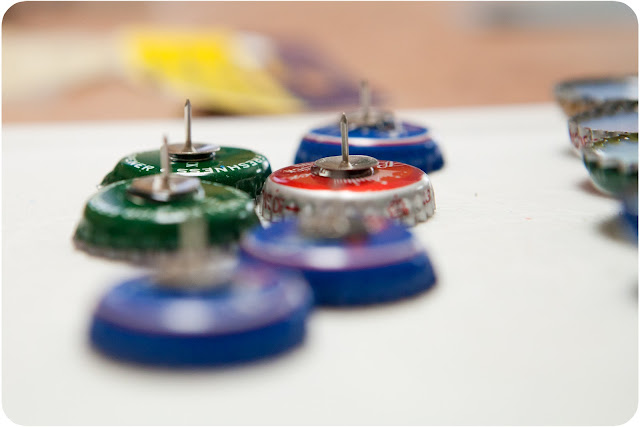
Back in July, I found an adorable cork board for kid's artwork and since my refrigerator was already taken over by my little artist's work, I needed a secondary "gallery."  I found a nice spot for it in the hall between our breakfast nook and the living room and covered it with art.  Except there was something just not right... AHA! Aside from not having enough space (I'll talk about that later), it was covered in BORING pushpins.  I thought about it a little and remembered my trusty stash of bottle caps!  Yes, I could have bought "cuter" pushpins, but why do that when I could make my own unique, inexpensive, easy pushpins!  Since I am also looking for summer crafts for Super Kid, I would be hitting two birds with one stone!  I decided to let him make bottle cap magnets to put by his homework desk.  We did these simultaneously, so the pictures are combined.  

How I did it:

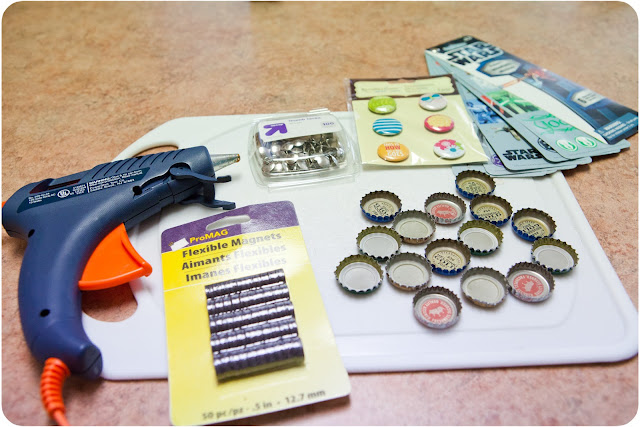
What you need:

- Bottle caps (as many as you want to make)
- Hot glue gun
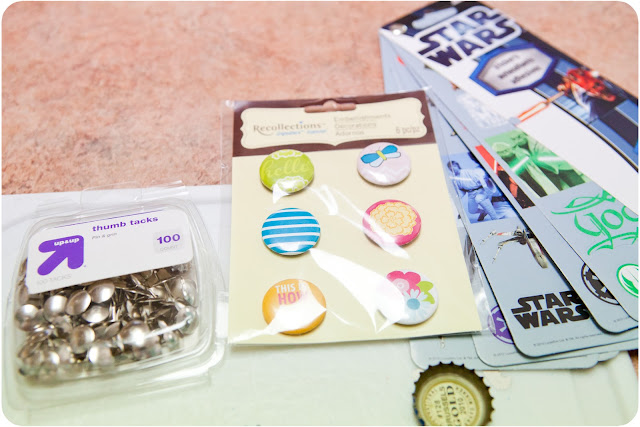
- Flat head pushpins
- Small round magnets
- Stickers 
- Scrapbooking embellishments 
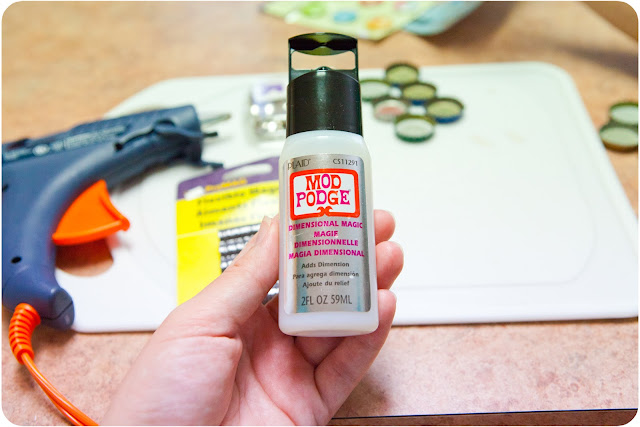
- Mod Podge Dimensional Magic (we used the one with silver glitter)
- Cutting board (optional - I use this cutting board for ALL of my crafts!)


Bottle Caps Pushpins & Magnets - www.thelifeofawannabesupermom.blogspot.com

Bottle Caps Pushpins & Magnets - www.thelifeofawannabesupermom.blogspot.com

Bottle Caps Pushpins & Magnets - www.thelifeofawannabesupermom.blogspot.com

Bottle Caps Pushpins & Magnets - www.thelifeofawannabesupermom.blogspot.com


What I did:

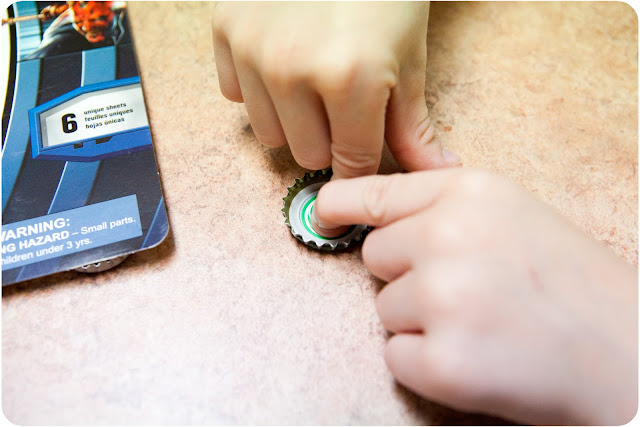
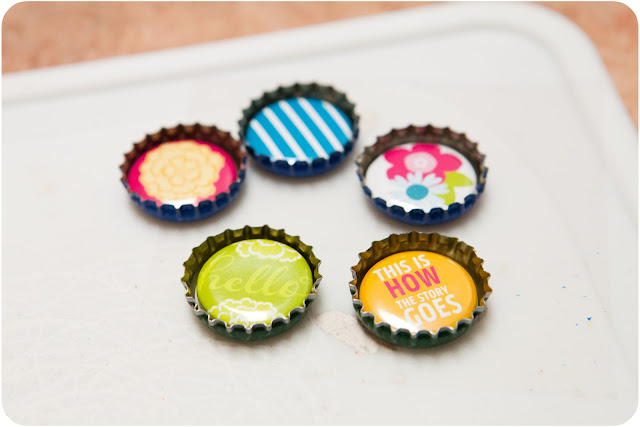
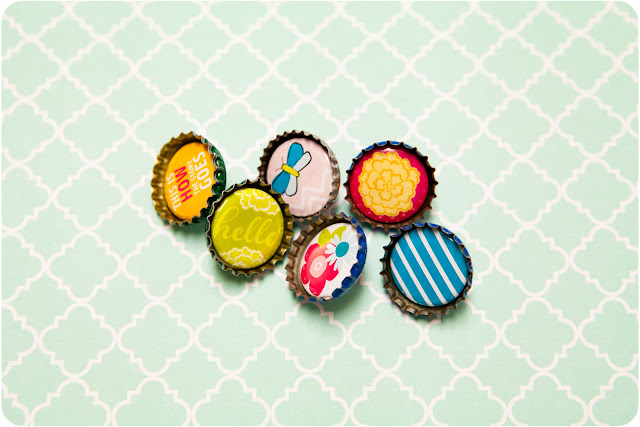
Step 1: I told Super Kid to pick out a few stickers from his sticker pad that would fit inside of the bottle caps. I then let him take this over while I placed my scrapbooking embellishments (which fit PERFECTLY inside of the caps) inside of my caps.  You could do either way for your caps!  Scrapbooking stickers work great!  I found these adorable embellishments on clearance, so I went that route.  I did not have to use hot glue for mine, since they had a sticky back on them.  If it does not have a sticky back, then use a small dab of hot glue to hold your embellishment in place.
Bottle Caps Pushpins & Magnets - www.thelifeofawannabesupermom.blogspot.com

Bottle Caps Pushpins & Magnets - www.thelifeofawannabesupermom.blogspot.com

Bottle Caps Pushpins & Magnets - www.thelifeofawannabesupermom.blogspot.com

Bottle Caps Pushpins & Magnets - www.thelifeofawannabesupermom.blogspot.com

Bottle Caps Pushpins & Magnets - www.thelifeofawannabesupermom.blogspot.com

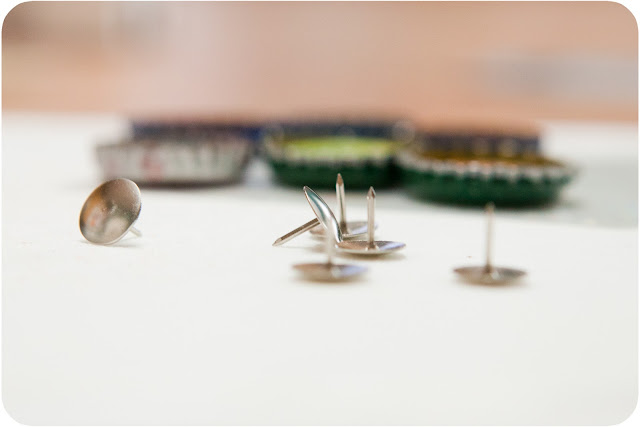
Step 2: Since my embellishments did NOT need Mod Podge, I went ahead and hot glued my pushpins to the bottom. 
Bottle Caps Pushpins & Magnets - www.thelifeofawannabesupermom.blogspot.com

Bottle Caps Pushpins & Magnets - www.thelifeofawannabesupermom.blogspot.com

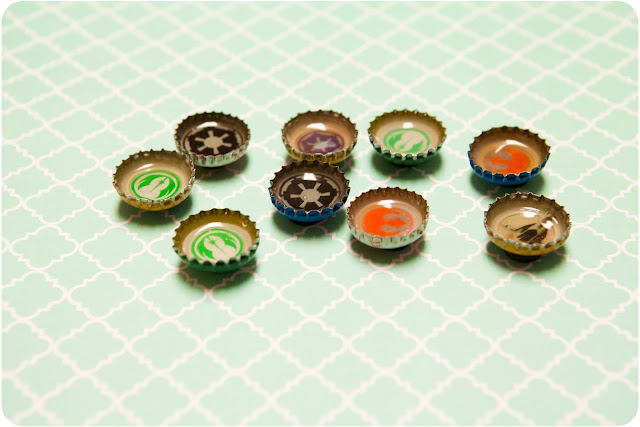
Step 3: For the caps with stickers (or anything that needs Mod Podge), I hot glued magnets to the bottom and then filled the bottle caps with the Mod Podge Dimensional Magic. 
Bottle Caps Pushpins & Magnets - www.thelifeofawannabesupermom.blogspot.com

Bottle Caps Pushpins & Magnets - www.thelifeofawannabesupermom.blogspot.com


Step 4: Let the caps with Mod Podge dry for 24 hours.  Once they are dry, they are done! The pushpin caps without Mod Podge are all done once the hot glue is dry!
Bottle Caps Pushpins & Magnets - www.thelifeofawannabesupermom.blogspot.com

Bottle Caps Pushpins & Magnets - www.thelifeofawannabesupermom.blogspot.com

Bottle Caps Pushpins & Magnets - www.thelifeofawannabesupermom.blogspot.com

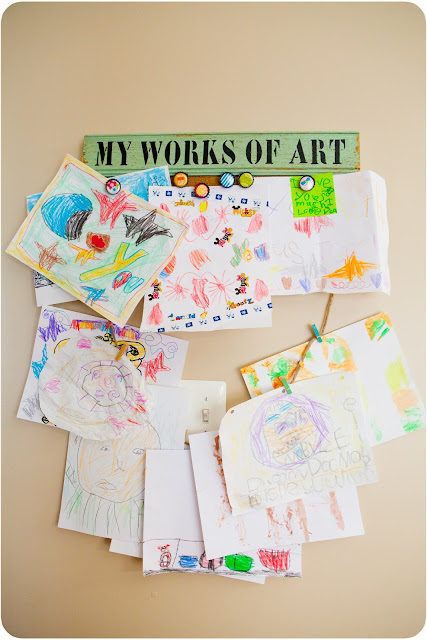
On my "Works of Art" board: 


Bottle Caps Pushpins & Magnets - www.thelifeofawannabesupermom.blogspot.com

Bottle Caps Pushpins & Magnets - www.thelifeofawannabesupermom.blogspot.com

Bottle Caps Pushpins & Magnets - www.thelifeofawannabesupermom.blogspot.com
I mentioned before about not having enough space on this board!  I added a piece of jute string by attaching it with hot glue to the back of the board and then used these adorable mini clothes pins I found on clearance (part of the same set as the embellishments I used for the bottle caps) to hook the art to the jute!  Always try to alter an object to better fit your needs rather than buying something new! 

And just because they're adorable, here's those cute mini clothes pins :)


Bottle Caps Pushpins & Magnets - www.thelifeofawannabesupermom.blogspot.com


Wednesday, August 14, 2013

Lego Bracelet


Lego Bracelet - www.thelifeofawannabesupermom.blogspot.com

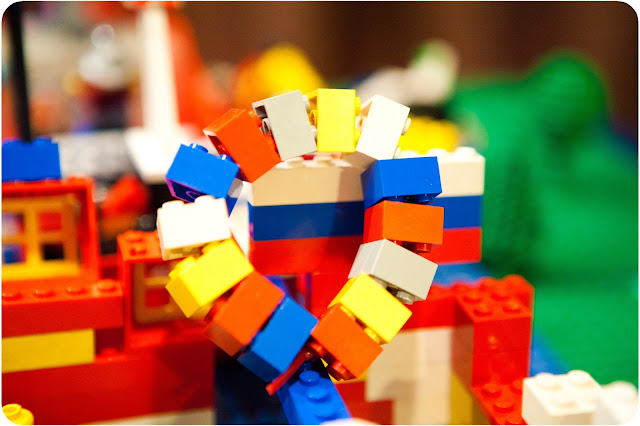
I've been planning Super Kid's 6th Birthday Party, which is Lego themed, the last few weeks and while doing my Pinterest-ing and Google-ing, I came across an adorable bracelet made out of Legos.  Well, this bracelet costs WAY more than I'm willing to pay (about $80 more, actually) for a bracelet that is 1. made of Legos and 2. for a 6 year old that will probably lose it.  DIY to the rescue!

My version is cheap, easy, and won't make you or your bank account cry for days if your kid loses it.

How I did it:

What you need:

- Legos!  (Gather as many as you think you may need to fit your child's wrist.  I eyeballed this. I used the same sized square Legos, but you could use a variety of shapes and colors depending on how funky you want the bracelet to be.)
- Bracelet string (I used the kind you can find near the pony beads for kid's bracelets at a craft store. In my opinion, this type of string would withstand a 6 year old, but you could also use stretchy jewelry string if you'd like.)
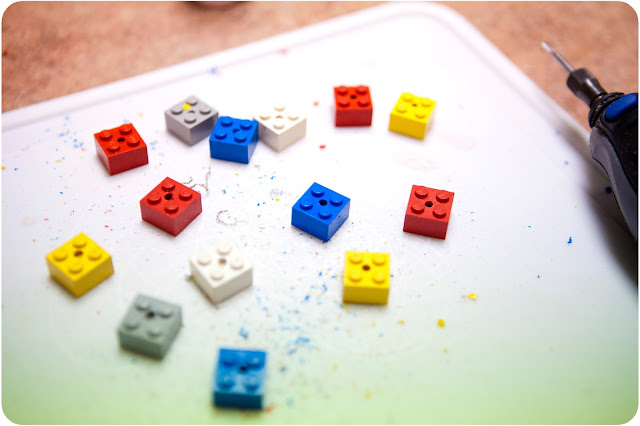
- Dremel or drill with small hole drilling bit
- Cutting Board (I didn't actually drill into my board, but I had it there just in case)
- Scissors


Lego Bracelet - www.thelifeofawannabesupermom.blogspot.com

What I did:

Step 1: Gather up your Legos.  I eyeballed the number of Legos I would need by placing them into a circle.  

Step 2: Use your Dremel or drill to drill a small hole through the center of the Lego.  Since I used the square Legos, I was able to drill straight through the hole on the bottom of the Lego.  I did NOT drill straight down into my cutting board.  I actually held the Lego up and applied pressure that way.  Be careful doing this, please.  If you have a piece of board laying around that you can sacrifice, then use that and drill straight down.
Lego Bracelet - www.thelifeofawannabesupermom.blogspot.com

Lego Bracelet - www.thelifeofawannabesupermom.blogspot.com

Lego Bracelet - www.thelifeofawannabesupermom.blogspot.com


Notice the hole isn't perfectly centered on every Lego.  That's okay.  I found it didn't make any difference if it is slightly off centered.

Step 3: Cut your bracelet string to the size of your child's wrist.  Make sure to leave extra room for the Legos, since they are pretty bulky.

Step 4: String the Legos onto the bracelet string and tie a knot.
Lego Bracelet - www.thelifeofawannabesupermom.blogspot.com

All done!  Easy peasy lemon squeezy!  This ended up costing me about $2 total.  I had everything on hand, except for the bracelet string, which was $1.99 at the craft store.  Much better than $80-something if I do say so myself!

Lego Bracelet - www.thelifeofawannabesupermom.blogspot.com

Lego Bracelet - www.thelifeofawannabesupermom.blogspot.com


Thursday, August 8, 2013

Front Porch Rocking Chair Plant Holder


Front Porch Rocking Chair Plant Holder - www.thelifeofawannabesupermom.blogspot.com
Whoa!  That's a mouthful!  Frontporchrockingchairplantholder.  ANYwho, I wanted to share my frontporchrockingchairplantholder with you all!

Now before you judge my sad, half alive plant that is in my newly refurbished rocking chair, you must know that I have nothing NEAR a green thumb.  Gardening is not something I've ever been good at, nor is it something I enjoy.  The fact that this one plant still has a bloom on it after having it for a couple of months is beyond amazing!  Ok, that's my plant disclaimer. Moving on.

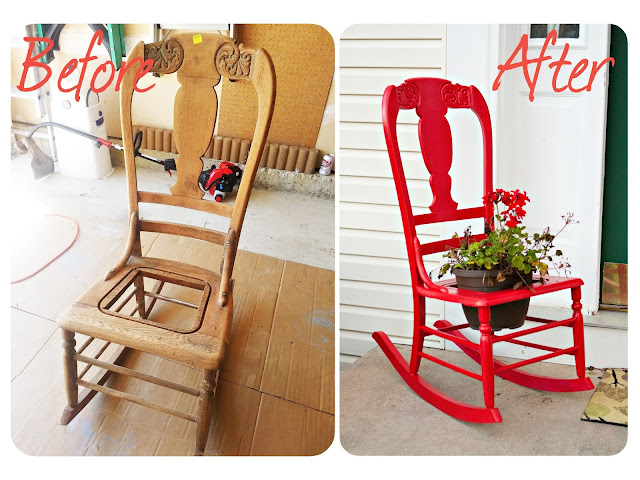
I found this rocking chair at a yard sale in my neighborhood for $10.  There was a piece of cardboard where the seat was supposed to be, so I decided to take it a different route all together.  The little square will fit a basic sized plant holder.  I will have to get creative during the winter and holidays, but I know I will be adding mums to it for the fall!

To start, I did a light sanding over the entire chair using a sanding block.  I then painted on a coat of outdoor primer.  Once that was dry (overnight), I did two coats of red paint with a paintbrush.  I let each coat dry overnight.  For SOME reason, this paint just would not dry and wasn't covering the way it was supposed to.  So then it was off to the hardware store to buy a can of my trusty spray paint!  I love spray paint. LOVE.  One quick coat of a matching red spray paint covered it perfectly!  Once it was dry, I stuck it on the porch, threw my half alive plant in it and voila!  :)

Moral of the story:  Don't be afraid to try non-traditional uses for your refurbished furniture finds!
Front Porch Rocking Chair Plant Holder - www.thelifeofawannabesupermom.blogspot.com


Monday, August 5, 2013

Kid-Proofing Chairs

I recently had a great opportunity to do a guest post for the At Play Blog at AtPlayOnline.com!

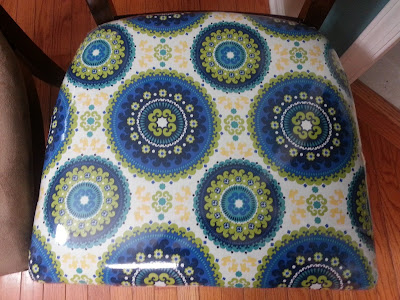
You can find the tutorial for "Kid-Proofing Chairs" here.

While you're there, check out the At Play Blog!  There is everything from crocheting to crafts to knitting and you will find tutorials for just about everything you could ever want to make.  The website is compiled of tutorials and patterns submitted by At Play Blog readers, so you will find the best of the best there!  Make sure to check it often, because these are added every.single.day.  :)

I hope you enjoy my "Kid-Proofing Chairs" tutorial!


Wednesday, July 31, 2013

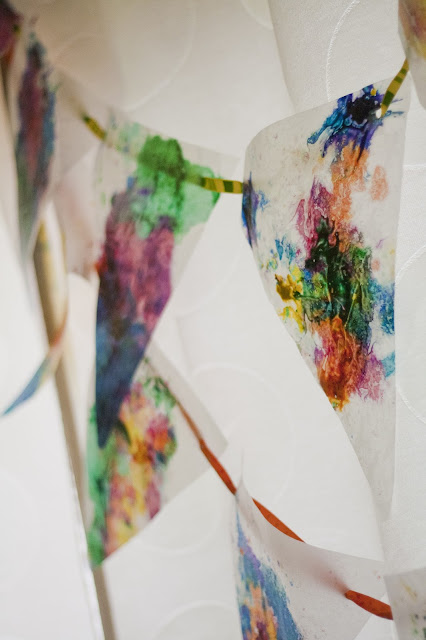
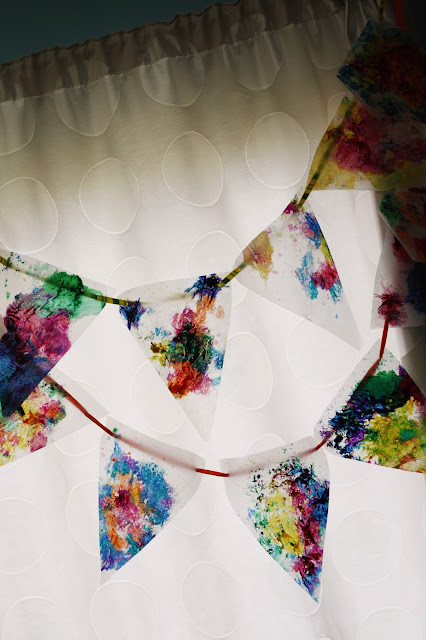
Stained Glass Bunting

Stained Glass Bunting - www.thelifeofawannabesupermom.blogspot.com


I've been attempting to do little projects with Super Kid while he is out of school for the summer.  I came across this project at The Artful Parent, who has an amazing blog and ideas!  I'll be posting a few other projects found there as well. Anyway, Super Kid has an overabundance of crayons.  He really has an obsession, I think.  He may get it from his Mama, who may have a slightly unhealthy obsession with office and craft supplies.  Come on, nothing wrong with that! ;) 

I asked him to go through his crayon box and pick out all of the broken crayons and to put them into a Ziploc bag.  He came back with a handful of crayons, which I thought would surely NEVER be enough for this project, but we started got the grater out and went for it. 

FYI: You may want to either 1. sacrifice your grater for this project or 2. buy a cheap grater to use for crafting.  Not thinking about it, I used my grater from my kitchen and it is now officially a crafting grater.  

I apologize for not taking step-by-step pictures of this project, but I did it very similarly to how The Artful Parent did it :)

How I did it:

What you need:

- Crayons (this is a great way to use broken crayons!) 
- Grater (please see "FYI" above)
- Wax paper
- Iron
- Old towel
- Large paper (I used craft paper, but paper grocery bags would work great as well)
- Scissors
- Hole puncher
- Ribbon

What I did:

Step 1: Start grating your crayons.  This will take a little while and I suggest doing it on a covered table and outside!  We somehow made quite the mess doing this step.  You can grate colors of similar shades together over a paper plate and then add that color group to a muffin tin section or separate containers to keep the colors divided.  We did blue and purple together and red and orange together, etc. 

Step 2: Cut wax paper large enough to fold in half and still have enough space to cut a triangle for the bunting.  The pictures under step 4 shows the wax paper folded over, but pre-cut to get an idea of size. 

Step 3: Sprinkle crayon shavings onto one side of the wax paper in different color combinations and patterns.  Try to stay a couple of inches away from the edges or this will leak out when you iron it. 

Step 4: As Super Kid sprinkled the wax paper, I took the ones he was finished with and ironed them.  Before you start ironing, STOP!  I put an old towel on the counter with a large folded paper over it.  I placed the wax paper (which is folded in half!) in between the paper and ironed it.  I had my iron on medium-high.  It didn't take but about 20 seconds to get the shavings to melt.  As I finished them, I hung them with clothes pins to dry until we finished all of them (we did 14 total).


Stained Glass Bunting - www.thelifeofawannabesupermom.blogspot.com

Stained Glass Bunting - www.thelifeofawannabesupermom.blogspot.com

Stained Glass Bunting - www.thelifeofawannabesupermom.blogspot.com

Step 5: Cut your triangles for the bunting. I cut one and then used that one as my cutting template for the others.  You may need to get a little creative on the cutting if the crayons shavings were more abundant on one side.

Step 6: After you have all of your triangles cut, punch holes on the sides for the ribbon. 

Step 7: String your ribbon through your triangles.  We used ribbon we had on hand, so we made two sets of bunting to accommodate our ribbon length.  

Step 8: Hang your bunting and enjoy!  We have our stained glass bunting hanging from our sliding door curtain rod.  It looks so pretty when we open the curtains!


Stained Glass Bunting - www.thelifeofawannabesupermom.blogspot.com

Stained Glass Bunting - www.thelifeofawannabesupermom.blogspot.com


Tuesday, July 30, 2013

Interview with My Son - 2013

What a better way to restart this blog than by posting Super Kid's latest interview.  I asked him the same questions we asked him last year (except I added a few more).  Here it is: 

Interview with My Son - 2013


When are you (or have you been) most afraid? When I was 4, I was afraid of doing stuff.

What was the happiest day in your life? When we went to see “Turbo.”

If you could change one thing in the world, what would it be? For the “Uh Oh” box to go bye-bye.

If you could change one thing about yourself, what would it be? Nothing.

What is the one thing you could not live without? A playroom or a bedroom

What is your favorite movie or show? Turbo and Mickey Mouse Clubhouse

What cartoon character would you most like to be? Doc McStuffins

What is the worst thing about being 5 years old? I can’t do the stuff I want to do.

What is the best thing about being 5 years old? Having a playroom and doing “bigger” stuff like having a big Jeep!

Describe your perfect day. To get Rita’s and go watch a movie.

What job would like to have when you grow up? A worker like Daddy. 

Who are your best friends and why? Kira, because Kira always plays with me.

What does Mama always say to you? I love you my sweet boy.

What makes Mama happy? When I don’t cry and when I do sweet things for her.

What makes Mama sad? When I cry.

How does Mama make you laugh? When she tickles me.

What was Mama like as a kid? Funny, like me. And she had a pink playroom and seahorse bed.


How old is Mama? 31

How tall is Mama? Bigger than me.

What is Mama's favorite thing to do?  Do laundry.

What does Mama do when you're not around? Go shopping, get me stuff after I go to school.  She gets surprises for me. She feeds Landon. Makes me dinner.

What is Mama really good at? Cleaning house

What is Mama really bad at? Doing Legos

What does Mama do for her job? Work with Daddy.

What is Mama's favorite food? The new food we made that was on my magazine.

If Mama was a cartoon character, who would she be? Doc McStuffins, because you’re a girl. I mean, a lady.

How are you and Mama the same? Sometimes we both wear Saints shirts.

How are you and Mama different? Our hair is different and she’s bigger and I’m smaller.

How do you know your Mama loves you? Because she gives me hugs and kisses and does sweet things for me.

Where is Mama's favorite place to go? To Rita’s and home with me.

What does Daddy always say to you? I love you.

What makes Daddy happy? When I do special things for him.

What makes Daddy sad? When I cry. 

How does Daddy make you laugh? By tickling me by the Logan Tazer. 
 
What was Daddy like as a kid? A silly boy.  


How old is Daddy? 32

How tall is Daddy? 32 tall.

What is Daddy's favorite thing to do? Watch TV. 

What does Daddy do when you're not around? Go to work. 

What is Daddy really good at? Legos. 

What is Daddy really bad at? He's really bad at trying to tickle Mama.  

What does Daddy do for his job? Flies the helicopter.  

What is Daddy's favorite food? Chicken fingers. 

If Daddy was a cartoon character, who would he be? Mickey Mouse.

How are you and Daddy the same? We have the same hair color.

How are you and Daddy different? He's bigger and smarter and he can do whatever he wants. 

How do you know your Daddy loves you? He gives me hugs and give me quarters when I do very good. 

Where is Daddy's favorite place to go?  To the movie theater to see some movies.


If this kid isn't adorable, I don't know what is!  Make this a tradition in your home with your kids!  It's no doubt something that we'll treasure always :)


Monday, July 29, 2013

It's been a little while!

It's been just a little while since my last post, but I'm back for good now! 

Since the last post, Super Husband and I had a new baby, Super Baby, who was born in March 2013.  Super Kid started Kindergarten in the fall of 2012 and graduated in June 2013.  He is now on his way to FIRST GRADE ::jaw drop:: I can't believe how quickly he's growing up.  Super Baby is amazing and is the cutest little guy you'll ever see. All in all, things are great!  We've been busy, but I've been doing projects and other fun things and I'll be trying to catch the blog up on all of them.  

I'm so excited to be back and blogging away about my adventures again!